
One day I was talking to my fellow guild members in vent. I don’t remember what we were talking about, but I do remember that I told them that I was thinking of making our guild’s cape.
Which wasn’t exactly true. I hadn’t given it one moment’s thought. The idea simply popped into my head and I blurted it out before I could stop myself. I chalked it up to one of those random things that’s said in chat and I expected to forget about it quickly. But the thought didn’t go away. I found myself thinking what I would need to make the cape real.
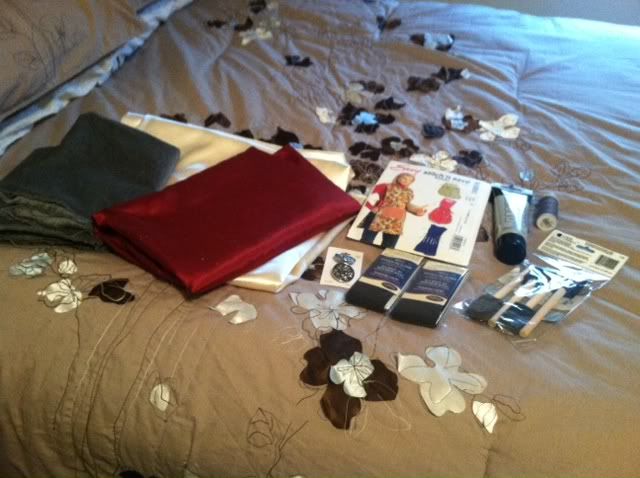
And so the next day I went to a fabric store and got the supplies I thought I needed.
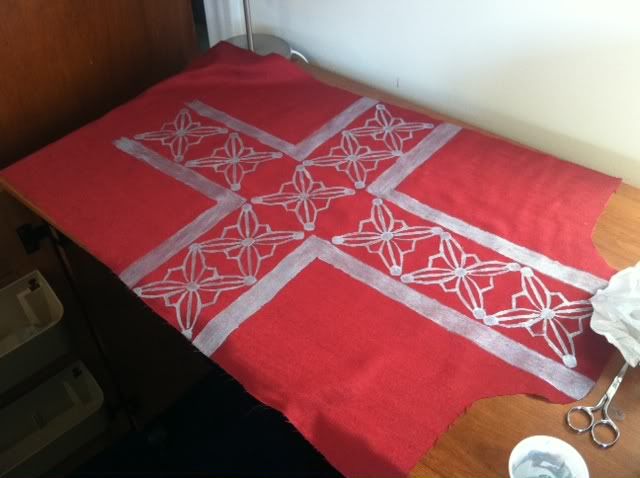
The first part of the cape went smoothly. I got the pattern from an apron pattern that had the right shape. Painting the silver on was easy. I made a stencil and was done quickly.
The part that I knew would trip me up the most was the emblem on the cape. I went about this a couple of different ways. First, I was going to make a stencil and then cut out the fabric and sew it onto the cape. I quickly realized that wouldn’t work with my fabric, as there was no way I would be able to press the emblem and keep the detail that I wanted.
So I thought perhaps I would cut the fabric right on the line and sew it on the cape. That wouldn’t work either, as the fabric frayed horribly. It was back to the drawing board.
What I decided to do was make the stencil and paint some plain muslin fabric gold. Once it’s dry, I’d cut about ¼ of an inch around the paint and then sew where the white and gold meet.
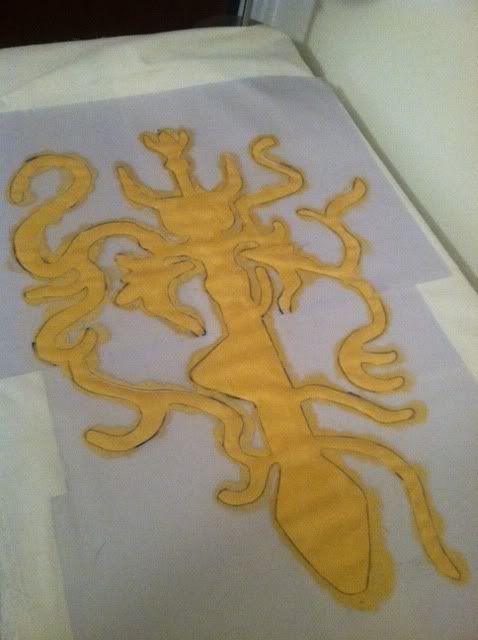
That didn’t quite work out the way I wanted. I couldn't sew underneath easily, like appliqué. Luckily, I realized the fabric wasn’t fraying at all because of the paint. So I cut directly around the painted area and sewed that onto the cape.
Next was the top of the cape, including the part that goes around the neck. I was very excited, because this would be the first time I was going to use my sewing machine’s buttonhole feature. Set everything up, pressed the ‘go’ key, and quickly discovered that the combination of my fabric and thread was no good for buttonhole making. I therefore hand made quite possibly the world’s worst buttonhole. But there was a hole and it was for a button and in the end, isn’t that all that matters?
After that it was time to quilt the cape itself. I took the same grey thread that wasn’t good for buttonhole making and quickly quilted around the silver lines. Then I added the black quilting bias.
Everything was going so smoothly until that point. I was really happy with how it was going. Then I realized I made a logistical error. I made my piping, and promptly realized I should have attached it about 5 steps beforehand, when I was sewing the grey top part. There was no way I was going to go back and fix that error. So I made a work around. I already knew that this cape was for displaying, not for wearing, so I just stitched it to the back. Works for me!
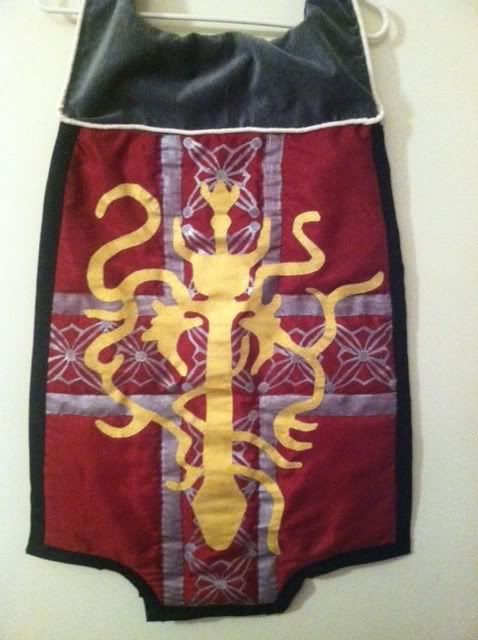
I learned a lot making this cape, and I made notes throughout the process, figuring out what I would do differently next time. I had an absolute blast making this. It has been a while since I made something for myself, just because. Lately, most of my crafting has been for other people, which I love, but it is nice to make something for me.
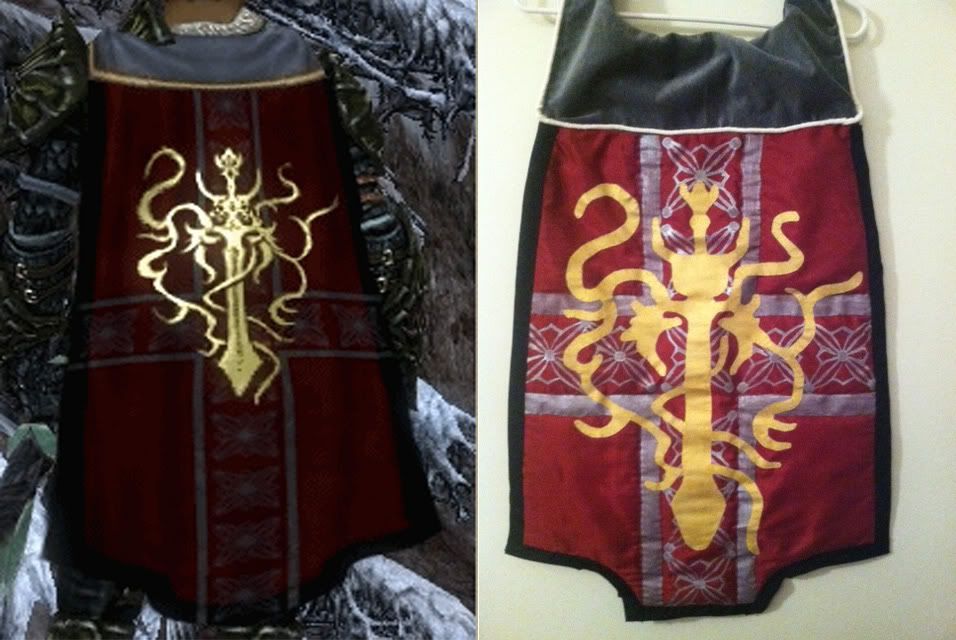
It's not perfect but it all comes together really well. Seriously it looks great.
ReplyDelete